Sleeping in there with all that ether might be an issue though !  Could be the last nap you take.
Could be the last nap you take.
 Could be the last nap you take.
I know, looks like it will be a tent for me... or maybe the ether!Could be the last nap you take.
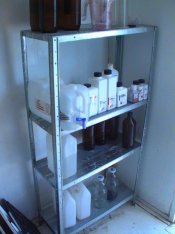
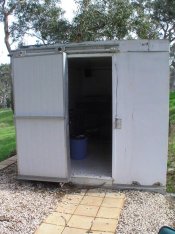
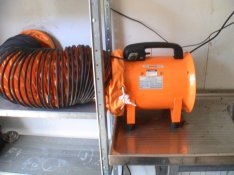
Having gone head over heals for the wet plate process, I decided to go with a mobile darkroom over the portable darkbox used by many. I like a lot of working space!
Thanks Mike! We're going to give it a go. He has a more cool bumper sticker than I already. "If the Van's a Rockin'..."Very nice, Bill. Will there be a "wet plate shootout" between your trailer and Joe's Magic Bus this year?
All you really need to do is to make the space light proof. There are plenty of different materials you can use - the black plastic sheeting used in gardens, black cloth "gaffer" tape, cardboard, wood. It all just depends on where the light may get in. If you can give some specific details on your needs and the space available, I'm sure we can help.  Thanks to one and all.
I'm new to APUG ...
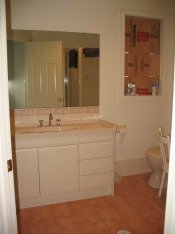
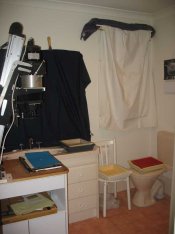
We've recently built a new house, but I still couldn't get a permanent darkroom past the bank manager, so I have to convert the bathroom for each printing session...

maybe you should buy the "bank manager" a nice gift.


 Photography was still a major interest of mine though, and the beauty of the southwest desert constantly called to me. But between the limits of rental housing and the lack of local supplies - and the fact that most of my photos were shared on-line rather than in person...it just made sense to shoot digital. I still yearned for good old Silver Halide and vowed to one day setup a darkroom once again when I owned my own house. Meeting and marrying a woman who also has a love for photography and traditional darkroom practices only made that vow seem all the more likely to come to fruition.


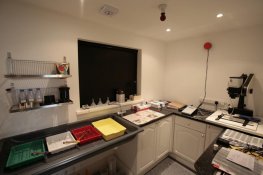
WOW Now THAT is an enlarger. How does she handle on the road ?There are some really great darkrooms in this post. I've been watching it for some time as I was completing this one. This is my third one and has incorporated a lot of good ideas I've seen on this forum. Probably the biggest and best idea was to build plenty of sink, 16' in this case. I lined it with PVC that you can buy in 4'x8' sheets. This has worked out really, really well. I built the base plenty strong to hold the Jobo ATL full of water. A couple of other items on the wet side are the commercial spray faucet for washing out big trays and the Haas Intellifaucet that regulates water temperature to the Jobo as well as the cold lines to both faucets on the sink.
The end wall holds the drying cabinet, the dry mount press, and the densitometer.
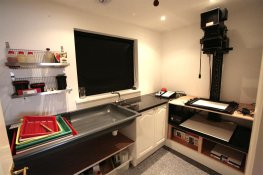
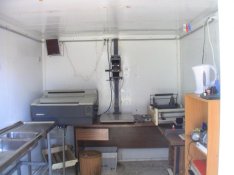
On the dry side is the LPL 4550XLG enlarger along with plenty of storage for all the stuff for enlarging and film loading. I used to have a Chromega F 10"x10" enlarger where the vertical shelves are now but I decided to go horizontal which brings me to the last photo and my latest project:
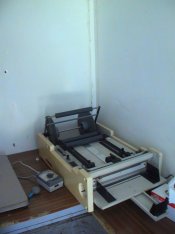
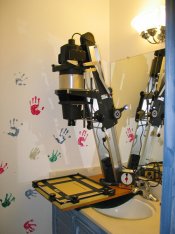
I recently acquired this Durst HL2501 AF horizontal enlarger from a pro lab that was closing down. This thing is amazing. It's the best built enlarger I've ever seen. It rides on 20' of track and can be run in completely automatic mode or completely manual if you choose. I tore it all down, cleaned everything and have reassembled it and it is a beauty. It's almost sad to see these things being retired. As you can probably tell, it's outside my main darkroom since I needed room for the 20' of track and a vertical easel. I'm in the process of building an adjacent room as we speak that will just be for the Durst.
Anybody interested in a nice, used Chromega F???
| Photrio.com contains affiliate links to products. We may receive a commission for purchases made through these links. To read our full affiliate disclosure statement please click Here. |
PHOTRIO PARTNERS EQUALLY FUNDING OUR COMMUNITY:  |