- Joined
- Sep 6, 2007
- Messages
- 10
- Format
- Medium Format


WOW Now THAT is an enlarger. How does she handle on the road ?
 It's certainly engineered like one.
Handles like a fine sports car
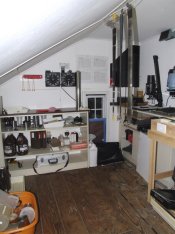
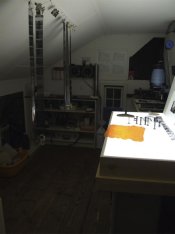
I just acquired my fourth 8x10 enlarger in a NY State surplus sale. It's a Durst 1840 vertical enlarger in extremely good condition.
...So does that mean that nice John Deere tractor will have to spend the winter out in the cold.
Any spare 8x10 color heads you would consider selling separate?
I'm 80% done, with 90% to go...
Greg
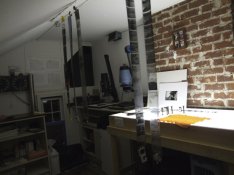
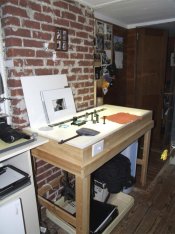
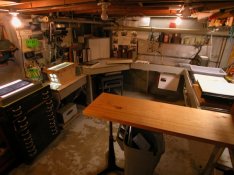
...I didn't plumb the 8 foot sink. But I did install a drain. The drain will drain into a 5 gallon bucket, if something is spilled. Then I can just dump it into the sink. Saves time, is easy and is cheap...
...
feel free to give me suggestions.
thanks..
Greg
 My copper plumbing skills are OK, but my sweat joints aren't the prettiest.
Greg,
Hope you plan to post updates from time to time. I hope to head down the same path this winter. I sure wish we could use PVC here for the pressurized side.
You should be able to use PEX. I think you need a special tool for the fittings though.

...
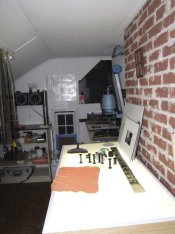
One question I have.. Is it necessary to paint the wall behind the Enlarger Flat Black ? My intention is to do so, but can it ever make a difference?
...
Greg
| Photrio.com contains affiliate links to products. We may receive a commission for purchases made through these links. To read our full affiliate disclosure statement please click Here. |
PHOTRIO PARTNERS EQUALLY FUNDING OUR COMMUNITY:  |