Darkroom Portraits (Part 2)

Frank Dean,  Blacksmith

A
Frank Dean, Blacksmith

  • 5
  • 3
  • 40
Woman wearing shades.

Woman wearing shades.

  • 0
  • 1
  • 45
Curved Wall

A
Curved Wall

  • 5
  • 0
  • 77
Crossing beams

A
Crossing beams

  • 9
  • 1
  • 100
Shadow 2

A
Shadow 2

  • 5
  • 1
  • 70

Recent Classifieds

Forum statistics

Threads
198,839
Messages
2,781,663
Members
99,725
Latest member
saint_otrott
Recent bookmarks
0

Firestarter

Member
Joined
Apr 21, 2009
Messages
88
Location
Planet Earth
Format
Medium Format
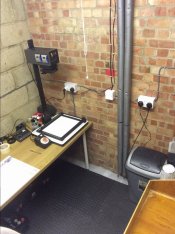
Took 6 years to get mine together.....I have the lpl7452 and a 7700 i use for 6x45 format.


Hi,

Very nice set up, very organized looking space.:smile:

Can I ask a couple of questions about your small water heater. Just wondering if you can get a constant flow at low temperatures? such as 20C for washing films etc. Also it looks like you have it wired into a fused spur. Does it draw a lot of current or do you just run off a standard supply?

Thanks.
 

Martyn L

Member
Joined
Feb 5, 2017
Messages
13
Location
Bridgwater UK
Format
Medium Format
Hi,

Very nice set up, very organized looking space.:smile:

Can I ask a couple of questions about your small water heater. Just wondering if you can get a constant flow at low temperatures? such as 20C for washing films etc. Also it looks like you have it wired into a fused spur. Does it draw a lot of current or do you just run off a standard supply?

Thanks.
The water heater is on A fused spur as you said. It runs off the ring main, I must admit it is not the best but with fine adjustment the temp can be kept at a reasonable level. The flow is not great though so I tend to wash film with many water changes from a bank of jugs mixed to 20c.
 

Luis-F-S

Member
Joined
Sep 19, 2013
Messages
774
Location
Madisonville
Format
8x10 Format
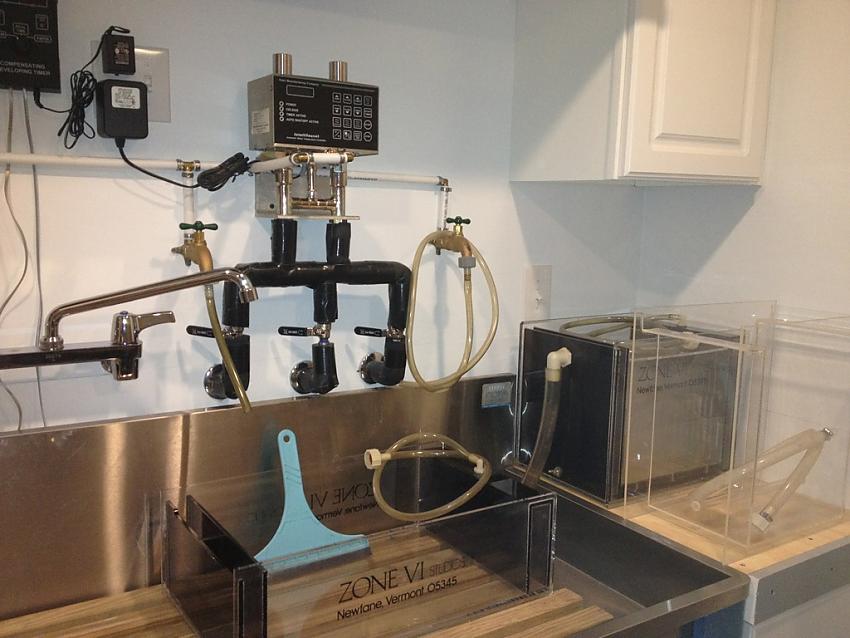
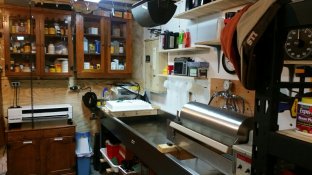
Some shots of my small darkroom, I think I've posted them here before. I have a 10 gal water heater outside the darkroom to supply hot water to the mixing valve during the winter. The cold side is tap as long as it's below 68 F. It is filtered right before the line splits to the heater. In summer, I have a chiller (also just outside the darkroom) that supplies the cold side, and the "cold" tap the warm side (usually over 80 F in summer). Don't use the water heater for temperature control except in winter. The chiller sits on blocks on the floor and is shown with the insulated piping before the walls were finished.


DSC_0205s.jpg
DSC_0208s.jpg
 
Last edited:

Martyn L

Member
Joined
Feb 5, 2017
Messages
13
Location
Bridgwater UK
Format
Medium Format
I have a cannister filter system out side feeding the hot and cold sides. I also use the rainwater from the darkroom roof stored in 3 barrels with another filter. The supply is not piped into the darkroom from this. I use this for alternative process mostly.
Our PH at the mains tap is 7.5 with the rainwater at 6.5.
 

Firestarter

Member
Joined
Apr 21, 2009
Messages
88
Location
Planet Earth
Format
Medium Format
The water heater is on A fused spur as you said. It runs off the ring main, I must admit it is not the best but with fine adjustment the temp can be kept at a reasonable level. The flow is not great though so I tend to wash film with many water changes from a bank of jugs mixed to 20c.


Thanks, just thinking of some options for hot water.
 

Ai Print

Subscriber
Joined
May 28, 2015
Messages
1,292
Location
Colorado
Format
Multi Format
Guess it is time to piggyback this thread with my build, getting ready to install the wet side, total of 20' feet of sink and wet countertop space, handyman is knocking out some low overhead and then relocating a GFI above backsplash level:

Wetside.jpg
 

Stephen Prunier

Subscriber
Joined
Sep 13, 2008
Messages
372
Location
North Shore, MA,
Format
Multi Format
Guess it is time to piggyback this thread with my build, getting ready to install the wet side, total of 20' feet of sink and wet countertop space, handyman is knocking out some low overhead and then relocating a GFI above backsplash level:

View attachment 173137

Impressed!!!
 

Bob Carnie

Subscriber
Joined
Apr 18, 2004
Messages
7,735
Location
toronto
Format
Med. Format RF
Group Image.jpg


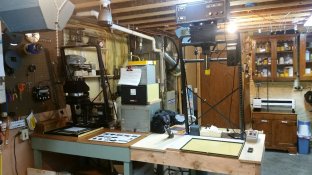
Here are areas of my new space, from Alt exposing unit to darkroom enlargers and sink to Lambda Image setter where I make silver gelatin film and paper.. btw you can see the big troughs
for making Lambda Silver Gelatin, that day I exposed and processed 50 ft of 30 inch black and white paper.
 

CMoore

Subscriber
Joined
Aug 23, 2015
Messages
6,220
Location
USA CA
Format
35mm
My disaster in progress. About 10'x12'
I converted a bedroom that had a closet that shared a wall with a bathroom. The bathroom had 2 sinks and we had already abandoned one of them. I tied into to That supply and drain and bought a sink from..... Freestyle.?
So far i have only developed film. I am just now starting to set up the Beseler and Align/Get it running. I THINK i have everything (other than artistic talent, ability and know-how) needed to be able to print my 35mm. I will know for sure in a few weeks.
http://i.imgur.com/MCJTy6y.jpg
http://i.imgur.com/pEMc6BW.jpg
http://i.imgur.com/eFQHtCT.jpg
 

TattyJJ

Member
Joined
Dec 30, 2016
Messages
153
Location
Hampshire, UK
Format
35mm
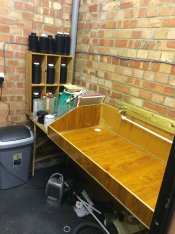
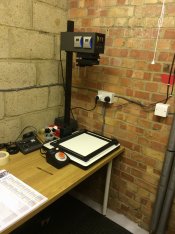
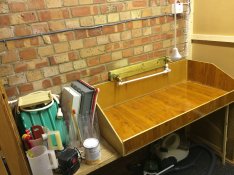
My darkroom is nearing completion, only taken 3 weekends and a couple of evenings to convert the back third of the garage into a darkroom, plus the tightest budget ever. Much like most of my kit, the majority of it is begged borrowed or stolen :wink:

It's pretty small at only 2 x 2.3 meters, pretty minuscule compared to what many have available! But i think the space is enough, going by what seems to be the standard layout i have a wet side with my home made sink and dry side with just about enough room to manoeuvre in the middle.
Drainage and power are all sorted, but need to sort out running water and storage, LOTS of storage!

IMG_1362.JPG IMG_1363.JPG IMG_1364.JPG IMG_1402.JPG
 
Last edited:

Ron789

Subscriber
Joined
Nov 17, 2014
Messages
356
Location
Haarlem, The
Format
Multi Format
Looks like a nice darkroom! Yes, space is limited but I think it's sufficient as long as your prints are a modest size; I'd say, up to 30x40cm. As for running water: I connected a 1 meter garden hose with an adjustable nozzle that allows to set it to a straight flow of water or a spray and has an open/close handle with a fixation. I find that very convenient. Good luck finishing this setup and then... have lots of fun printing here!
 

TattyJJ

Member
Joined
Dec 30, 2016
Messages
153
Location
Hampshire, UK
Format
35mm
I'm not too fussed about not being able to do really large prints. I could probably squeeze out a bit bigger than 30x40, but even that size is pretty amble for me.
Running water will be from an outside tap just round the corner from the garage entrance, all i have to do is plug the hose pipe in whenever i'm using the darkroom. No great hardship.
I'm looking forward to getting a first use, but the varnish on the sink is taking a lifetime to dry!
 

ac12

Member
Joined
Apr 27, 2010
Messages
720
Location
SF Bay Area (SFO), USA
Format
Multi Format
Tatty,
I advise you to put something smooth on the walls around the sink.
Water and chemicals WILL get splashed on the walls.
So make it easier to clean up.
 

mshchem

Subscriber
Joined
Nov 26, 2007
Messages
14,661
Location
Iowa City, Iowa USA
Format
Medium Format
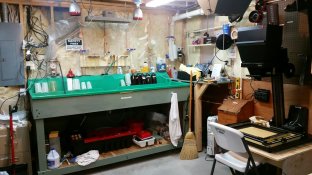
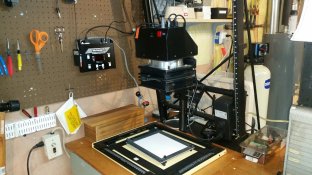
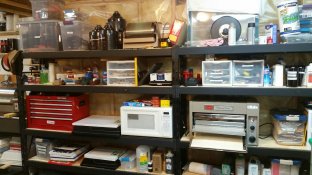
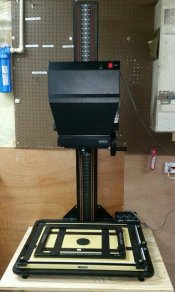
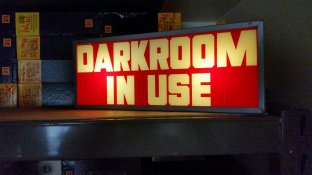
Here's my latest conglomeration. I need to get rid of every little thing I don't require in the Darkroom. I should have finished the walls first but I needed to get up and running. When I retire (Which isn't going to be much longer, I'm going to put up some more panels, etc. What a great lifelong hobby! Best Mike
DarkroomNorthend.jpg Darkroomgreensink.jpg Darkroomdual enlargers.jpg DarkroommetroluxVCL.jpg Darkroompakodryer.jpg 20170205_131049-1-1_resized.jpg Darkroom Sign.jpg
 

jbrianfoto

Member
Joined
Oct 9, 2006
Messages
165
Location
Fredericksburg, VA
Format
8x10 Format
This is my space, not quite as posh as Jbrian's but it's evolved into a very good darkroom over the past 2 years. I have a large 7x4' light table outside the darkroom that has a folding wooden top, so it can double as a desk when I'm not using it for editing. There's also a film drying cabinet behind the vantage point for the photograph.

View attachment 38732
I really like the exposed beam in the ceiling.
 

jbrianfoto

Member
Joined
Oct 9, 2006
Messages
165
Location
Fredericksburg, VA
Format
8x10 Format
So I'm finally getting my darkroom in here.
First off, I cannot extend enough thanks to the APUG community. Looking at the darkroom portraits from all of you was inspirational, educational, and strangely soothing in my time between darkrooms. I've been doing black and white completely on my own for about 8 years now, and with having never actually worked in a proper darkroom (not even one time), the information all of you share here has been invaluable to me. In the past I was always in rental properties, so there was no option to build specifically, it was pretty dodgy, cobbled together, punkrock darkrooms for years. The last one had a hole in the floor for a sink and drain, in a different part of the basement.

Now I finally own a house and spent over 2 months last winter putting this together after I was unexpectedly laid off. Best thing that happened to me in awhile.

Started out with tearing out a cold storage room, patching some deteriorated parging on the foundation. All in all, about 70% of the materials were either used, scavenged, or recycled. The sinks were made out of the metal/enamel liners from two old ass freezers that were left in the house. The ceiling was done with nearly full size sheets of new drywall that were waste from a neighbour's reno. Almost all of the lumber was scavenged. I had to buy paint, some electrical and plumbing and 2 sheets of plywood.
There is a master switch to close off all of the electrical, including plug ins.
The plumbing has it's own set of shut offs for easy maintainence or changes.
I got one of the lawler mechanical temp control valves off of the auction site for a little over $100. Someone here had posted a link to this, http://conradhoffman.com/9700.htm, for tips with tuning these valves up. I went through and followed it, and the valve works like a dream.
I got the LPL enlarger for free from one of the high schools here in town which has an incredible photography program. Since the film price jump a year or more ago, they've had to scale back on the film component, and so were getting rid of a bunch of equipment. I modified the column slightly to mount it to the ceiling so that the work surface underneath would be movable for doing bigger enlargements. It has only 2 positions, but they both have adjustible bolts so that it can be properly aligned with the enlarger.

There is some more stuff in it now with settling in and refining here and there, but I sure am happy with it.
I'm pretty typed out now, but if any of you have any questions, ask away.
Thanks again APUG, couldn't have done it with out you.


Really, really cool how you mounted the Hifi in the wall !
 

c41

Member
Joined
Jul 21, 2016
Messages
236
Location
Aus
Format
Analog
My darkroom is temporary, for as long as we rent this house.
It's squeezed in the laundry pretty nicely. The enlarger sits in a shower space.
Bottom right is the laundry sink that meets all my wet stuff needs, so I skipped on building an extended sink, and just have a 'wet table' for trays as visible on the right.
I couldn't pull the 'dunny' out since it isn't mine, so I just built the wet table around it.
There are more racks for stuff top right out of shot.
Behind is a hot water tank and washing machine, so no more space to extend into.
Would be nice to have somewhere to layout prints/negatives etc. to look at but this is it.
IMG_3889.JPG
 
Photrio.com contains affiliate links to products. We may receive a commission for purchases made through these links.
To read our full affiliate disclosure statement please click Here.

PHOTRIO PARTNERS EQUALLY FUNDING OUR COMMUNITY:


Ilford ADOX Freestyle Photographic Stearman Press Weldon Color Lab Blue Moon Camera & Machine
Top Bottom