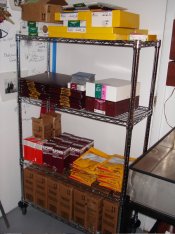
It turns out, they gave me all their spare parts for the durst as well. I have a complete set of spare electronics. My undergrad is in electrical engineering which came in handy to diagnose a few "issues" with the enlarger after I brought it home.
Dave
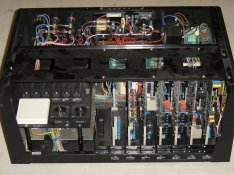
I got the sales brochure for the HL2501 in with the papers on my L1840. I saw the fancy circuit boards that swing out. At the time I was thinking "yeah, they know you are going to be down there on your hands and knees fiddling with that all the time..." because, I had just spent quite a few hours signal tracing and fixing the 24v motor speed control on my L1840's power supply (http://www.largeformatphotography.info/forum/attachment.php?attachmentid=9772&d=1202449116 ).
Good find!

 and the best part is it only takes about 5 minutes tops to set-up and about 10 minutes to breakdown and clean up.
 It just seems to work best for me this way and I don't mind working on the floor.