For our mural enlargers, two DeVere 10"x10" horizontal units, we had a steel wall running at 90º to the enlarger. To hold the paper we used very strong round magnets that looked very much like squat coffee tamper thingys.
We used rectangular strip magnets to place out the edge of where the paper was to go at the top, then held the paper in place with the coffee tamper magnets. This paper placement always required two people working in total darkness as our biggest prints were 1.83m in height on the wall, by 6m in length.
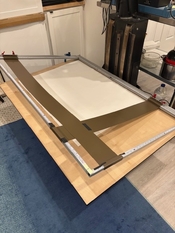
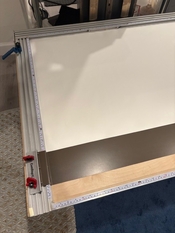
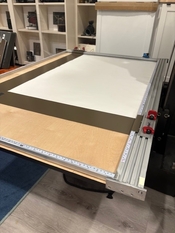
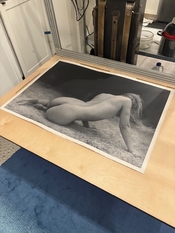
For smaller prints up to 30x40" we usually used our single 5x7" DeVere vertical enlarger as this enlarger had quite a big baseboard. We had the biggest steel easel I've ever seen which I seem to remember being an LPL unit, this accommodated 30x40" paper. Someone found a piece of sheet steel and we tried that using strip magnets for placement and holding the paper. I don't think either method was much different as the outcome for both was good.
A phenolic board made into a vacuum base, would be my pick. Using strip magnets at the edges of the paper for placement, then vacuum for the exposure. But if you are enlarging B&W, then strips of black gaffer tape for positioning on two edges, is where you could start and see how it goes.