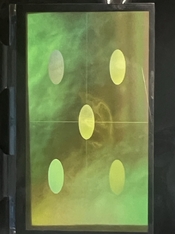
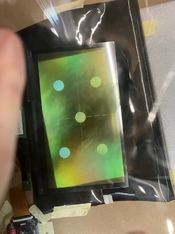
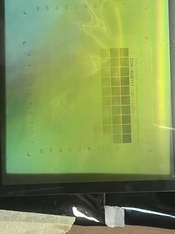
I received my Raspberry Pi 5 today, so now it’s time to build the 3rd generation of my software, trying to make it as accurate as possible using DRM/KMS + GBM + EGL + OpenGL ES, running on Pi OS Lite with no window manager. The aim is to control the display with minimal jitter and maximum reproducibility. The nice thing about these APIs is that you can actually measure when things are latched, whether you miss vblanks, etc., so you get a good idea of whether your exposure is consistent.
Running the panel as 1-bit and using time modulation for tonal control yields the cleanest results in my experience. Direct 8-bit exposure produced noticeable artifacts every time I tried it (most apparent in monotone areas).
My biggest challenge right now is the highlights (toe of the paper), which need very little exposure - they build density fast. I’ll experiment with more diluted developers and other darkroom tricks, but I really want the exposure pipeline to be as accurate as possible to help with precision, especially in the highlights given they’re the trickiest for me. So I’m having fun going a bit more low-level.

One nice side effect of driving the display directly with DRM/KMS is that it basically becomes plug-and-play for timing. I don’t have to mess with modelines or force modes like others reported - the Pi just reads the EDID and I can use the panel’s preferred timing exactly as it is.
For example, I can see the mode I need straight from the EDID:
sudo cat /sys/class/drm/card1-HDMI-A-1/edid | edid-decode
Block 2, DisplayID Extension Block:
Version: 1.2
Extension Count: 0
Display Product Type: Extension Section
Video Timing Modes Type 1 - Detailed Timings Data Block:
DTD: 2840x4320 19.994380 Hz 1:1 87.175 kHz 263.270000 MHz (aspect 1:1, no 3D stereo, preferred)
Hfront 120 Hsync 20 Hback 40 Hpol N
Vfront 20 Vsync 4 Vback 16 Vpol N
Checksum: 0x16
Checksum: 0x90
And in my code I simply ask DRM for that “preferred” mode and use it:
drmModeModeInfo mode = chosen_conn->modes[0];
for (int m = 0; m < chosen_conn->count_modes; m++) {
if (chosen_conn->modes[m].type & DRM_MODE_TYPE_PREFERRED) {
mode = chosen_conn->modes[m];
break;
}
}


 Had a lot of fun building this thing. Last step is to figure out how to generate some good LUTs.


