- Joined
- Mar 2, 2007
- Messages
- 1,464
- Format
- Medium Format
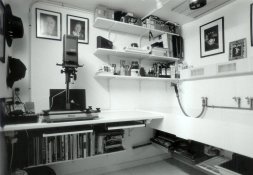
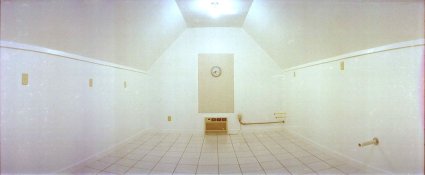
Ic-racer the darkroom setup looks awesome I love Durst CLS 2000's. Are you only doing Black and White work or Colour as well?


Ic-racer the darkroom setup looks awesome I love Durst CLS 2000's. Are you only doing Black and White work or Colour as well?
ic-racer,
The other enlargers are 4x5" Omega models?
Tom
 .
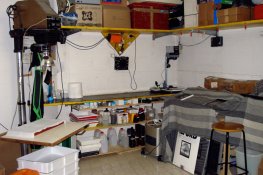
. I like the photos on the wall. Nice touch.
I think I'd like to get a cork board on the wall to tack photos on.
Photos in a darkroom create a good mood and act as inspiration, IMHO.

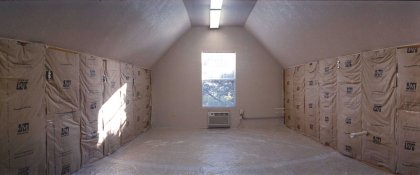
David, that is God's darkroom. Massive.

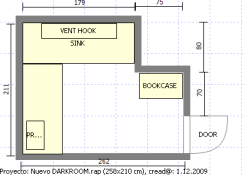
Do you have a floor plan design yet? I'd be interested to know how you intend to use the space.
My only dream is to have a Dark room that is on the gound floor, and not the basement.
If I posted pics of my dark room, you would all have nightmares for a week. It's been around for as long as I've been alive, and I'm still using the same trays, tongs, and table that I learned on. My wet, and dry are on the same table, so I need to be more careful. Yeah it's ugly, but It's mine, and I do get some pretty good, and saleable work. My only dream is to have a Dark room that is on the gound floor, and not the basement.

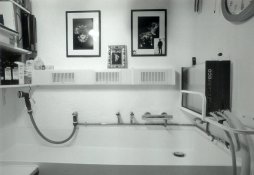
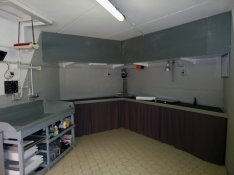
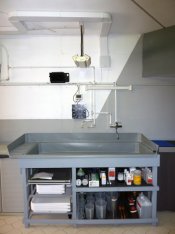
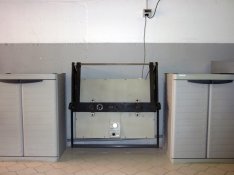
This is my 'darkroom's film/plate developing area. Just out of sight is the emulsion making area, which sometimes is used for doing laundry. Also out of sight is the double trashbag tucked into the window light proofing.
Do I get bonus points for running water AND built in toilet?
Brilliant! This is how I started too. In the family bathroom, many's the time when an irate sibling would pound on the door pleading to use the loo just as print entered the developer.
just the cats in my case. We have another bathroom that my parents use when i've holed up I bet its a joy to play in| Photrio.com contains affiliate links to products. We may receive a commission for purchases made through these links. To read our full affiliate disclosure statement please click Here. |
PHOTRIO PARTNERS EQUALLY FUNDING OUR COMMUNITY:  |