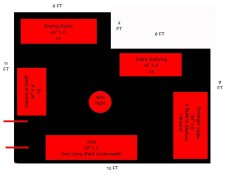
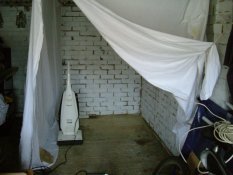
Where is the door? That will have a major impact on the layout. If the door is at one end then your options are really only to have one worktop at the other end, but if the door is in the middle then you can have a worktop at each end, one for the enlarger, the other for the "wet" side.[LEFT said:schekh[/left];459395]Hello friends!
Want a creative problem?. There is a premise 2,4x0,9 m.
Wish to make small darkroom for BW Prints. What ideas on a layout?
Furniture I can make any.
Advise please. Thanks
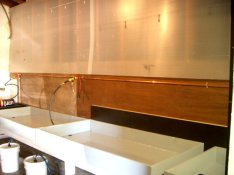
Where is the nearest running water? It sounds like you will have to use the darkroom to do the printing up to the point where the print comes out of the fixer and then take them elsewhere (a bathroom for example) to be washed. If you are really lucky it may be possible to run the water and waste pipe into your darkroom but it will be a tight fit!
What size prints do you intend making? This will dictate how much room you need for trays. You could however use one of the methods that others use for reducing the amount of room needed. One method is to use only one tray: you pour the current chemical out of the tray into a jug, then pour in the next chemical in to the tray: repeat for each chemical in use. Another option is to use a rotary tank system for prints: it works just like a daylight film developing tank and has the advantage that once you have loaded the tank, you can do the processing in normal lighting so you could load the paper into the tank in the darkroom and then take it to the bathroom to do the actual developing and washing, or process it in the darkroom if you prefer.
You need to think of where you can you put an extractor fan if you will be developing in the darkroom. This should be close to the chemical trays to pull the fumes away from you and out of the house. Use of an odour-free stop bath and low-odour fixer will make this a much nicer place to work, but you will still probably need an extractor fan in such a small space.
Good luck, Bob.

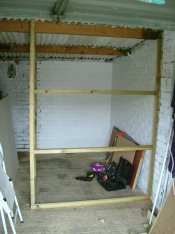
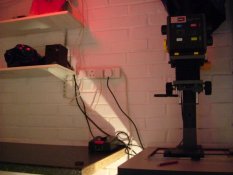
 Just goes to show what concentrating on the essentials can achieve.