I am 100% sure that this device already exists but I can't seem to find any references to it. Most likely I don't use the right search terms.
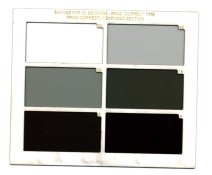
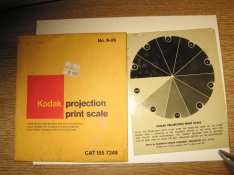
A test strip maker consisting of a sheet of plastic with increasing opaqueness. Say 1/3 stop each. Put in the test strip and give one burst of light. This must already exist somewhere.
Most likely this is an old idea that for some reasons not work very well. Us photographers being a lazy bunch, if this worked, everybody would use them.
So what is wrong with it and where can I find one to test. Or how do I build one?
r