I have the original Colorstar, which is quite basic compared to the later 2000 model you are considering.
You should also get the probe, with the adjustable angle probe, which although not a requirement, is very handy. My unit does not have the adjustable angle probe, instead I angle the probe by hand, not perfect, but very good.
Any of the Colorstar analysers are the best in the business. They are, to the best of my knowledge, the only colour analyser that does all three colours at once. This feature alone, is worth its weight in gold for analysing colour
They are very simple to use and very accurate.
I have used some very expensive colour analysers in an industrial photo lab, but had an easier and better experience in my home darkroom with my Colorstar analyser.
My suggestion is to find a Wallace Expo Disc, place that on the end of your lens, point the lens towards the light source. Put the camera onto automatic, take a shot. Then take any amount of pictures in that light and with that film. The Expo Disc makes a perfect grey card negative.
In the darkroom, find an image you like on that roll of film, then get a perfect colour print. Then without changing anything, place the Wallace Expo Disc negative into the enlarger, place the Colorstar analyser probe in the centre of the projected grey. Turn the lights off, then adjust the Colorstar sliders or wheels (different models) until all the lights go out. Then adjust the time on the analyser until it is the same as your time for your perfect print negative.
Your analyser is now perfectly calibrated.
Next time you are out, place the Wallace Expo Disc on the camera, take an automatic exposure towards the light source.
Develop the film.
Place the grey Expo Disc negative in the enlarger, turn the lights off. Place the probe into the projected area, switch the enlarger on, the darkroom lights off, then adjust the enlarger until all of the Colorstar lights go out. The Colorstar will also give you an exposure time, which will usually be very close, if not on the money. Take any negative shot under that lighting, and, apart from density change (enlarging time), you should have a correct colour picture.
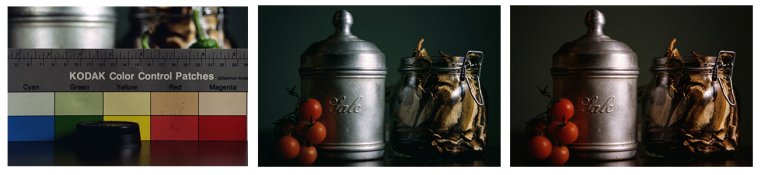
Please note; you use two filters in the enlarger head, Yellow and Magenta. The third colour, Cyan, is not used. Less Cyan equals more red, more Cyan equals more Cyan. In colour printing, the third colour is obtained by exposure. If you are extremely close in correct colour, the darker you print, the more red the print will be. The lighter you print, the more Cyan (or less red) the print will be.
I would have any of the Colorstar analysers, except the very last model. Which as far as I know, was not a product made by Lici.
The 2000 analyser is a great unit, about the best in the business.
Some thoughts Mick.