I'm sure at least one of you here must have run into this. It seems I'm running into a light scatter / halation problem in carbon printing. Question: how to prevent light scatter inside carbon transfer tissue?
Here's the background info:
I poured some tissues with rather low pigment loads of light-colored pigments to begin with. Cyan, magenta and yellow. (Yes, you can tell where this is going and no, I'm not sure if I'm going to pull through with this ungodly plan, but let's see how far I can get.)
I'm using acrylic paints for now as the pigment source so I have no clue about actual pigment content. Probably around 4% or less going by what I can gather from Calvin Grier. That's further watered down in my tissue which only uses 1% of the paint. It's by far insufficient and I'm going to drastically increase this one way or another, but I decided to give the very low-pigment tissues a try to see what they threw at me. Overall glop recipe is as follows:
8% technical grade gelatin
5% sugar
A little less than 0.25% glycerin
1% acrylic paint, with pigment PV 19 (magenta), PY 128 (yellow) or PB 15 + PW 6 (cyan).
Tissues are poured on blixed-out RA4 paper, so a white gelatin surface, in this case it happens to be a lustre finish. Tissue size is around 20 square centimeters and have around 20ml of glop each, so that makes a 1mm wet height.
Sensitization is with ammonium dichromate solution, adjusted to the contrast of the negative, using a foam foller for application.
Exposure is done with an el-cheapo UV LED flood light. It's not the cause of the problem; it images tack sharp with B&W.
Transfer is done to whatever surface is convenient, but I used gelatin-sized art paper for these tests.
The entire process is proven to work well with black pigment, i.e. India ink, at the same concentration. The glop recipe is identical to what I currently use for B&W tissue, replacing the India ink in my black tissue with the mentioned colorants.
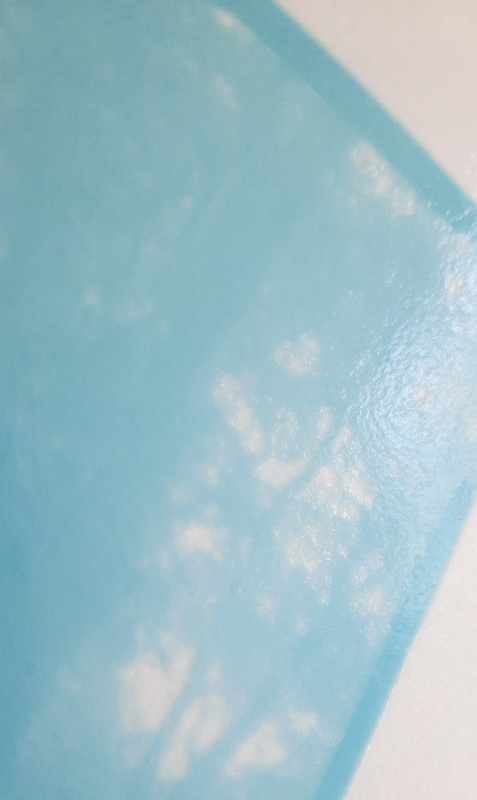
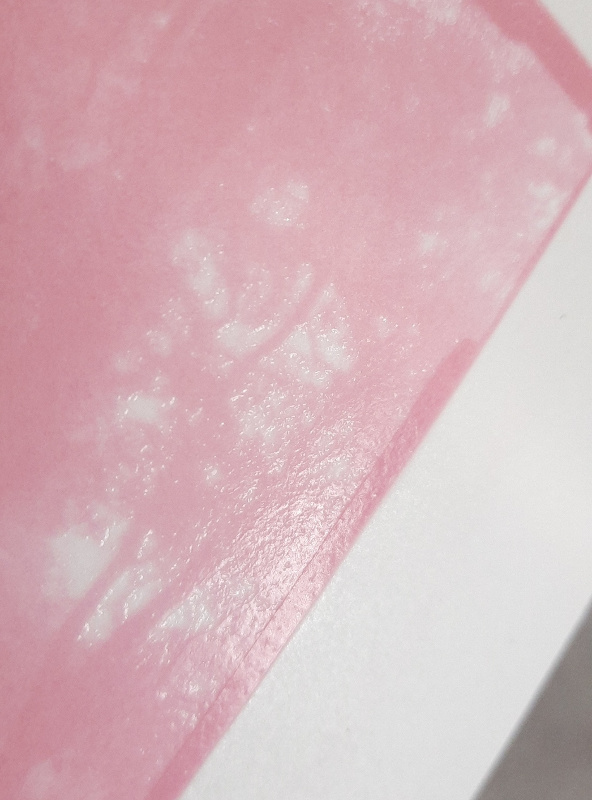
Well, the prints are super, super fuzzy. Looking at the nature of the fuzziness, my bet is that this is a light scatter issue, where the UV penetrates right through the emulsion and bounces back against the support surface, creating a diffuse secondary (and tertiary?) image around the primary image.
Here are two examples; same negative, cyan and magenta tissues:


Yellow is similar, but even more difficult to visually inspect because, you know, yellow on a white background...
Any suggestions on how to prevent this problem?
I've got some glop outgassing now with a higher magenta pigment concentration that I intend to pour onto black (developed out) RA4 paper; my logic says this should make a difference. Merely increasing pigment concentration probably also does something, but the pigments I use are rather transparent to begin with (deliberate choice) and especially magenta and cyan are generally not that great UV blockers anyway.
@Andrew O'Neill perhaps? I know you toyed with color carbon at least once a few years back...does this problem ring a bell with you? If not, what difference in materials do you spot?
Here's the background info:
I poured some tissues with rather low pigment loads of light-colored pigments to begin with. Cyan, magenta and yellow. (Yes, you can tell where this is going and no, I'm not sure if I'm going to pull through with this ungodly plan, but let's see how far I can get.)
I'm using acrylic paints for now as the pigment source so I have no clue about actual pigment content. Probably around 4% or less going by what I can gather from Calvin Grier. That's further watered down in my tissue which only uses 1% of the paint. It's by far insufficient and I'm going to drastically increase this one way or another, but I decided to give the very low-pigment tissues a try to see what they threw at me. Overall glop recipe is as follows:
8% technical grade gelatin
5% sugar
A little less than 0.25% glycerin
1% acrylic paint, with pigment PV 19 (magenta), PY 128 (yellow) or PB 15 + PW 6 (cyan).
Tissues are poured on blixed-out RA4 paper, so a white gelatin surface, in this case it happens to be a lustre finish. Tissue size is around 20 square centimeters and have around 20ml of glop each, so that makes a 1mm wet height.
Sensitization is with ammonium dichromate solution, adjusted to the contrast of the negative, using a foam foller for application.
Exposure is done with an el-cheapo UV LED flood light. It's not the cause of the problem; it images tack sharp with B&W.
Transfer is done to whatever surface is convenient, but I used gelatin-sized art paper for these tests.
The entire process is proven to work well with black pigment, i.e. India ink, at the same concentration. The glop recipe is identical to what I currently use for B&W tissue, replacing the India ink in my black tissue with the mentioned colorants.
Well, the prints are super, super fuzzy. Looking at the nature of the fuzziness, my bet is that this is a light scatter issue, where the UV penetrates right through the emulsion and bounces back against the support surface, creating a diffuse secondary (and tertiary?) image around the primary image.
Here are two examples; same negative, cyan and magenta tissues:


Yellow is similar, but even more difficult to visually inspect because, you know, yellow on a white background...
Any suggestions on how to prevent this problem?
I've got some glop outgassing now with a higher magenta pigment concentration that I intend to pour onto black (developed out) RA4 paper; my logic says this should make a difference. Merely increasing pigment concentration probably also does something, but the pigments I use are rather transparent to begin with (deliberate choice) and especially magenta and cyan are generally not that great UV blockers anyway.
@Andrew O'Neill perhaps? I know you toyed with color carbon at least once a few years back...does this problem ring a bell with you? If not, what difference in materials do you spot?


