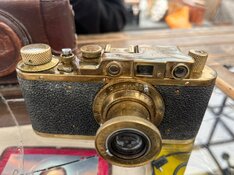
Hi all, I purchased a AL-F recently and it arrived yesterday.
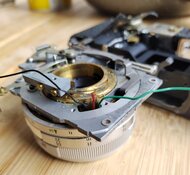
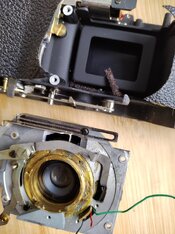
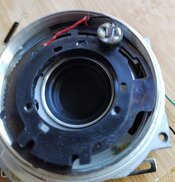
The EPX625- manufactured by Union Carbide- leaked and destroyed the solder joint that attaches the red wire to the -ve pole.
Does the red wire go directly to the galvanometer?
The GN ring can be rotated 360°. Is this normal?
Any help would be muchly appreciated.
The EPX625- manufactured by Union Carbide- leaked and destroyed the solder joint that attaches the red wire to the -ve pole.
Does the red wire go directly to the galvanometer?
The GN ring can be rotated 360°. Is this normal?
Any help would be muchly appreciated.
Last edited: