


@koraks asked me to start a new thread for my issue, which I mentioned and shared here: https://www.photrio.com/forum/threads/color-negative-ecn2-processing-problem.201939/post-2727635
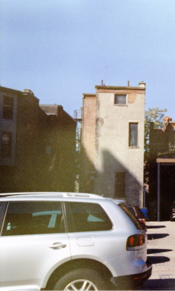
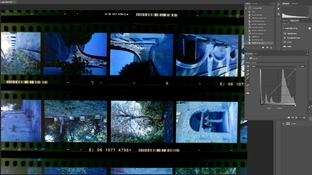
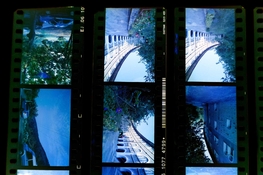
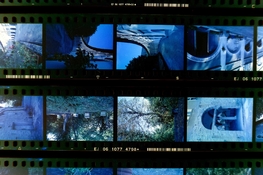
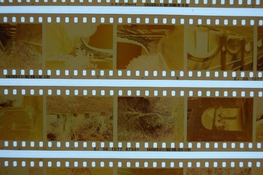
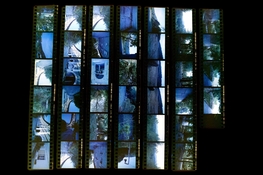
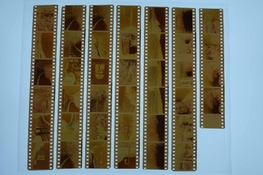
I tried my best to scan the emulsion side of a strip of negatives that had the particular issue - and by scan, I mean photograph them with a potato on a light table.

I tried my best to scan the emulsion side of a strip of negatives that had the particular issue - and by scan, I mean photograph them with a potato on a light table.