


cliveh
Subscriber
- Joined
- Oct 9, 2010
- Messages
- 8,002
- Format
- 35mm RF
Have any of you found you are making smaller test strips in view of the increasing cost of paper. Although I evaluate more negs through scanning before printing them, I still find I am making smaller test strips in the darkroom, being conscious of the cost of paper these days.
 Muscle memory I guess...
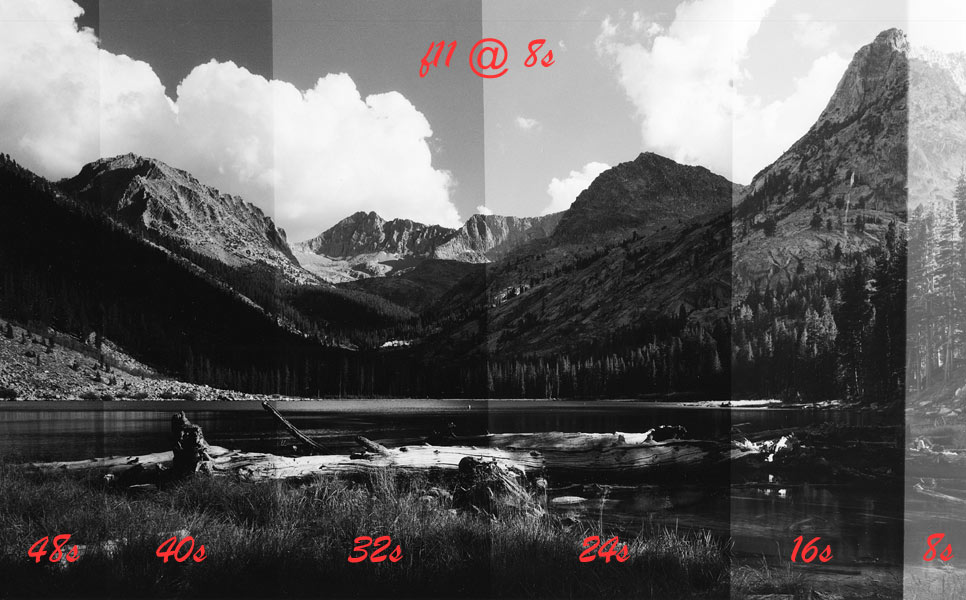
 (ps. I don't get any royalties).