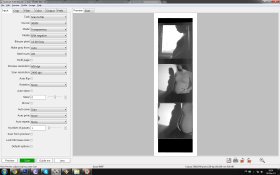
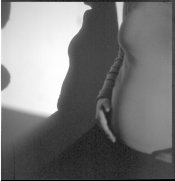
I am using VueScan and Canon CanoScan 9000f and alongside all my troubles with scanning I have this shadow problem on every scan that has deep shadows, they all look like this. A lot of time is needed for this to be corrected in PS so I need to know what is it that I am doing wrong so I can get as clear scan as possible. I'm attaching a screenshot of my VueScan settings and the unedited scan.
Thank you in advance for the help.
Boris
Thank you in advance for the help.
Boris