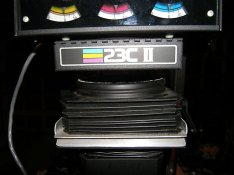
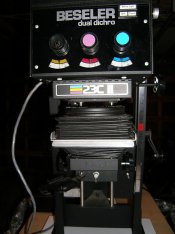
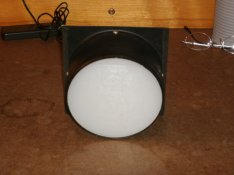
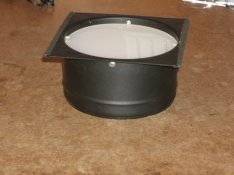
When changing from the condenser head to a dichroic head, what connects the light source to the filter box? Do I have a part missing, as there is about a 1.5"-2" gap now. This is with the head down as far as it will go. When the condenser head is installed, the condenser housing/tube fills this gap. The bellows slide up and over the housing. Help please.
-
Welcome to Photrio!Registration is fast and free. Join today to unlock search, see fewer ads, and access all forum features.Click here to sign up
Question on Beseler 23C2
-
A
- Thread starter Gerry M
- Start date


Recent Classifieds
-
For Sale Lens boards:Toyo, Canham, cambo, grafle
- Started by darinwc
-
For Sale Toyo 110mm lens boards (45 CF 45AR, 45ARII A11, AX
- Started by binglebugbob
-
Want to Buy Hasselblad A12 type III or IV back (Black or Silver)
- Started by jshcrlsn
-
For Sale Nikon F2S (body only, meter not working)
- Started by MCB18
Forum statistics
| Photrio.com contains affiliate links to products. We may receive a commission for purchases made through these links. To read our full affiliate disclosure statement please click Here. |
PHOTRIO PARTNERS EQUALLY FUNDING OUR COMMUNITY:  |