

- Joined
- Apr 12, 2005
- Messages
- 27
- Format
- 35mm
No, I think he means to centre and tape a sheet of film on a piece of paper, before running it through the printer. That's what I used to do when I had the 4000. Never have had pizza wheel issues with the P400, unless I was laying down too much ink.
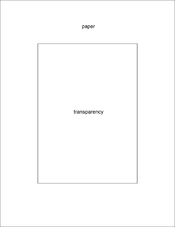
Sorry to be so dense about this. I can't visualize it. See attached image - do you mean something like this - transparency image taped onto a sheet of paper
I'll try to lay down less ink and see if that helps.
Choose Premium Glossy paper instead of Ultra Premium Glossy
And Choose Photo instead of Best Photo
Attachments
Last edited:

