Hi,
I am shooting with a Nikon F2 and developing (C-41) myself.
My setup for scanning is a D7000 with a Nikon 28mm f2.8 AIS lens with ~1cm of extension tube. This is a close focusing lens to start with.
I am shooting at 1/4s, f8, ISO set as low as it will go. I have been optimizing the setup and I think I have it working ok but I have no idea if what I am seeing is good quality or not. I haven't had any images printed yet.
Here is my setup:
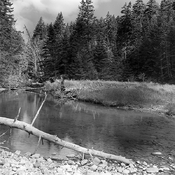
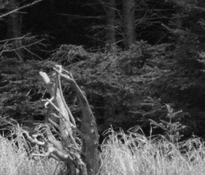
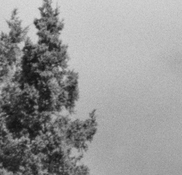
Here is a raw image and a processed one, with some basic changes in NX Studio. I would appreciate it if some more experienced eyes could take a look and give their opinion. The film is Portra 400.
Original Raw
 www.dropbox.com
Some post processing
www.dropbox.com
Hopefully these links work, I haven't tried publicly sharing with Dropbox before.
Rich
I am shooting with a Nikon F2 and developing (C-41) myself.
My setup for scanning is a D7000 with a Nikon 28mm f2.8 AIS lens with ~1cm of extension tube. This is a close focusing lens to start with.
I am shooting at 1/4s, f8, ISO set as low as it will go. I have been optimizing the setup and I think I have it working ok but I have no idea if what I am seeing is good quality or not. I haven't had any images printed yet.
Here is my setup:
Here is a raw image and a processed one, with some basic changes in NX Studio. I would appreciate it if some more experienced eyes could take a look and give their opinion. The film is Portra 400.
Original Raw
Dropbox
Some post processing
Dropbox
Hopefully these links work, I haven't tried publicly sharing with Dropbox before.
Rich