

I thought I'd show my recently completed drying cabinet, in case anyone is looking for ideas.
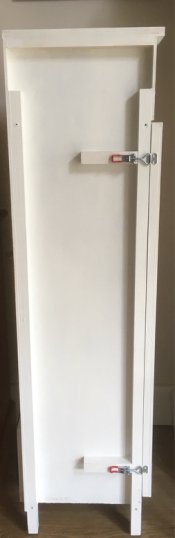
It's basically four slabs of thin MDF glued and screwed to four lengths of 30mm square PSE. The MDF only cost me £4 as it was some offcuts at B&Q's giant panel saw.
There is a USB PC fan at the top front which draws air in through the filter at the bottom rear. The filter is from a Daewoo Getz, chosen because it had dimensions listed on eBay.
A length of draught excluder around the opening and a couple of adjustable tension catches ensure that the door is sealed and air only enters through the filter. So far (after 12 films) it seems to be doing a decent job of drying without any dust sticking to the emulsion. That's quite a miracle as I have a hairy dog and live near a main road.
Total cost is about £30.
It's only tall enough for 120 film but as that's all I use it's not a problem.
Sig.


 )...
)...
