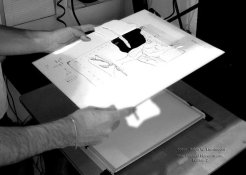
When I got my first job in a studio, my primary job was printing the commercial jobs and that required a lot of learning. I was fortunate to have a master printer for my mentor and the following was one of the tricks he taught me. Years later when I went out on my own, aside from photographing and to supplement my income, I used to print for a few pro's and if I had to print multiple prints of the same problem neg, I used a jiggle frame and a sheet of 11x14 clear glass, mounted on four springs. A piece of tissue was temporarily taped to the bottom of the glass and all the dodging masking was done on the top of the glass with croesine or ink, then the tissue was removed and the frame was started in motion with a flick on the right bottom corner of the frame and the exposure started leaving both hands free for burning and additional wand dodging of larger areas. The finer the detail the closer to the print the jiggle frame was placed. With this method you can print many nearly identical prints where very complex dodging and burning was required. This technique along with perspective correction easel mounts was used in many labs that specialized in printing commercial work for advertising and architecture.
Denise Libby