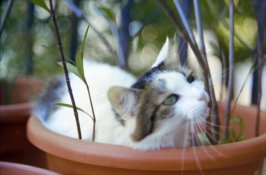
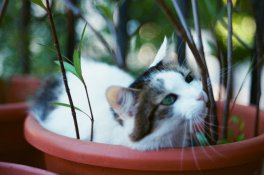
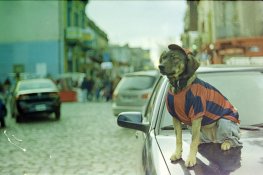
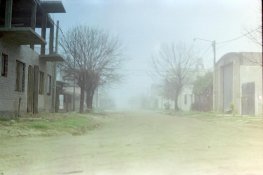
I did as you said and scanned with my camera and compared with the ones from the lab. The quality is significantly lower, as expected, but it is the best I can do for now. I know that lab uses a kickass scanner, so they have really good resolution.
Still, the quality loss is visible mainly as blurred edges, not added noise (in fact, the scans were noisier than the photos). I did what I could to match the colors, so it would be easier to compare, but I did no further editing, sharpening masks or anything.
BTW, how do you get good color from your scans? Even Color Perfect was giving me really bad colors on these photos
I tested my fixer again after googling a bit what I should be looking for. It seems to be ok, but I will still replace it, just in case, a new bottle is not expensive, and I'd rather be on the safe side.
Still, I rebleached and refixed the whole roll (8 min bleach and 10 min fix) and it is drying now, I'll post the results tomorrow =)
Photo
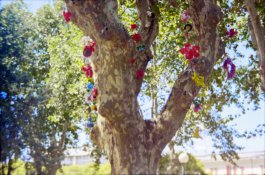
Scan from the lab
Photo
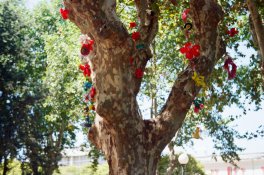
Scan from the lab