Good Morning! Perhaps I will be more clear in the light of day instead of writing in the early morning hours during breaks in the darkroom (but no guarentees!)!
Kino, When I cut the darkslide, the "half" I leave is slightly larger than the "half" I cut away -- by an 1/8" or so. The center 1/4" of the negative is never exposed because when one makes the first exposure and then flips the modified darkslide over for the second exposure, the wider remaining portion of the darkslide always covers it.
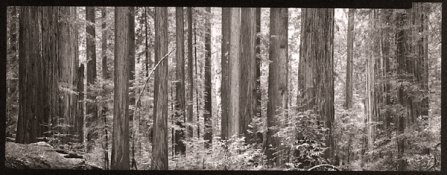
These are the steps (for a hortizontal image)...
1. Compose the shot for either the top half or bottom half of the GG -- let's say for this example you compose for the top half of the GG. Raise lens to get sweet spot centered on the top half of GG.
2. Insert film holder (close lens first!) and remove the complete (whole, unmodified, original) darkslide.
3. Insert modified darkslide so that the missing portion is on top, allowing light to hit the top part of the neg during exposure.
4. Expose
5. Remove modified darkslide and insert the complete darkslide!!!!
If one is going to make another exposure of the same scene, rotate back 180 degrees...no need to remove film holder...then;
6. Remove complete darkslide,
7. Insert modified darkslide so that the missing portion is again at the top (the holder was rotated 180 degrees along with the back, so the exposed half is now at the bottom).
8. Expose -- and then remover modified darkslide, insert complete darkslide and you are done.
If you don't rotate the back 180 degrees for the second shot on the negative, after step 5, remove the film holder and recompose for the bottom half of the GG. (lower the lens to center sweet spot on bottom hald of GG). Then insert film holder and remove complete darkslide. Insert modified darkslide, making sure that the missing half of the modified darkslide is on the bottom so that the bottom half of the negative will be exposed. Expose, remove modified darkslide, insert complete darkslide and then remove film holder.
BTW...Darkslides, up at the handle, have white on one side and black on the other. I take a black marker and black out the half of the white on the modified darkslide that corresponds to the missing portion of the darkslide -- helps to keep track of things!
Nick...yes.
Noseoil...one does not cut the darkslide all the way to its handle. With the darkslide one is going to modify in the film holder, take a pencil and mark the darkslide at the edge of the image area at the handle end of the holder. Remove the darkslide and only cut the darkslide just past the line you drew -- this leaves the entire width of the darkslide intact where it is in the light trap of the holder.
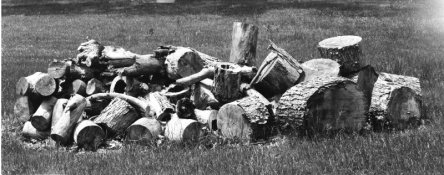
A picture is worth a 1000 words...here is a link to a photo of bender's modified darkslide -- it is an 8x10, but the idea is the same for 4x5.
http://www.benderphoto.com/4x10pa.htm
Vaughn