Well, after taking a better look, I know what lies ahead...
Mechanically, it's in good condition - but that goes without saying. Those beasts can be damaged only if run over by a steamroller

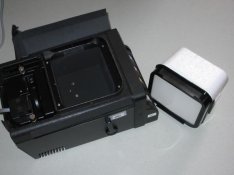
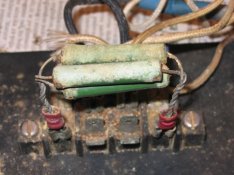
But, it must have been sitting in a wet basement for a while - the inside of the color head is rusted (see pics below).
I guess most of it can be fixed - it's not that complicated. With some work and a lot of patience, I hope I'll be able to bring it back to life. Although, looking at it right now, I don't know whether to laugh or cry
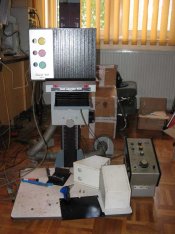
It comes with a huge transformer/analyzer combo, with one cable leading to the inside of the lens carrier - and there's a light probe INSIDE the bellows
I guess it's meant to be there. Since I don't do color, I'd rather ditch that big analyzer box, but it also contains the transformer for the head...
Still, I guess it's rather compact for a 4x5 enlarger.
The only pleasant surprise so far is the fact that I will be able to use my existing Meopta lensboards

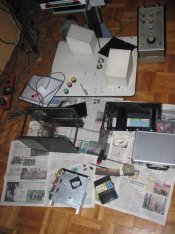
Judging from the condition of the head, my priorities are as follows:
1) Clean the inside of the head and remove as much rust as possible, avoiding any liquid cleaners.
2) Replace frayed cables inside the head - those leading to the lamps.
3) Repair/resolder frayed power and other cables connecting the head to analyzer and the fan power control box.
4) Get new lamps (already ordered).
5) Test everything using the voltmeter before plugging in the new lamps
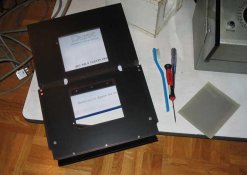
6) Fabricate a new neg. holder for 4x5 format - I have only 9x12 neg. carrier (see pic. below). Looks simple enough - just two flat plates (perhaps I could even use two pieces of glass?).
In short, there's a lot of work ahead.