ProfessorC1983
Member
I am just getting started with film and trying to nail down a reliable hybrid method to evaluate my exposure times before moving on to printing. Trying to do this without much of an investment (since an all-analog workflow is eventually my goal) so I'd like to use the fairly pedestrian scanner I already have (flatbed portion of an HP DeskJet 1510 all-in-one) and free software such as GIMP.
I'd like to know the most reliable way to post-process images in GIMP to determine if I've exposed the negatives correctly. In particular, can the Auto Equalize function be relied upon vs. setting the histograms manually via Levels?
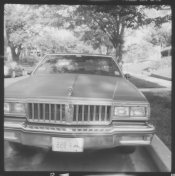
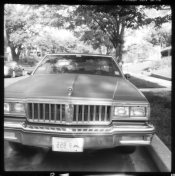
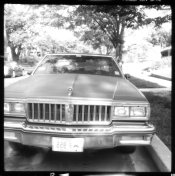
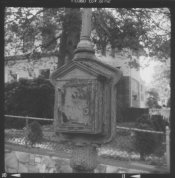
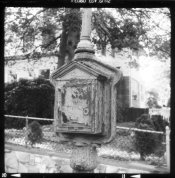
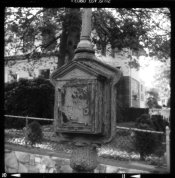
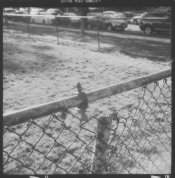
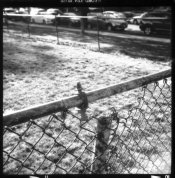
I've attached some examples that show fairly different results between the two methods. For each set of images my process was (1) plain scan of 6x6 neg at 2400dpi with no processing applied, just horizontal flip, invert and 50% scale; (2) Auto Equalize; (3) undo and then manually set Levels, with Black = darkest area of the border around frame, and White = lightest pixel of the carat (is there a better term for this?) within the border. (I know I could likely do better with a step wedge, which I have on order from Stouffer.)
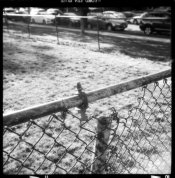
(Edit: I should add that these are all FP4+ on a Zeiss Ikon Nettar (Novar) and Sunny 16 [1/100, f/16] in Rodinal 1:50 for 12min.)
Any thoughts? Not really looking for advice on the images themselves; I know there's lots I could have done better, but this is about establishing a baseline process so I can compare frames against each other and learn from experience. Thanks!
I'd like to know the most reliable way to post-process images in GIMP to determine if I've exposed the negatives correctly. In particular, can the Auto Equalize function be relied upon vs. setting the histograms manually via Levels?
I've attached some examples that show fairly different results between the two methods. For each set of images my process was (1) plain scan of 6x6 neg at 2400dpi with no processing applied, just horizontal flip, invert and 50% scale; (2) Auto Equalize; (3) undo and then manually set Levels, with Black = darkest area of the border around frame, and White = lightest pixel of the carat (is there a better term for this?) within the border. (I know I could likely do better with a step wedge, which I have on order from Stouffer.)


(Edit: I should add that these are all FP4+ on a Zeiss Ikon Nettar (Novar) and Sunny 16 [1/100, f/16] in Rodinal 1:50 for 12min.)
Any thoughts? Not really looking for advice on the images themselves; I know there's lots I could have done better, but this is about establishing a baseline process so I can compare frames against each other and learn from experience. Thanks!
Last edited:


