crumpet8
Member
Hey,
So I’ve recently swapped to a colour head and am wondering about different filtration and contrasts etc.
E.g. I’ve read some people only use yellow or magenta, not both.
Also, is there a difference in using a lot of filtration (e.g. 75M 60Y) vs. say 30M 10Y, or is there a cancellation/negation of the filtration so that you end up with the same contrast?
In this case, is contrast the be all and end all that decides your grey tone depth? Or will heavy yellow stretch out by greys whilst magenta tries to hold the Dmax/min?
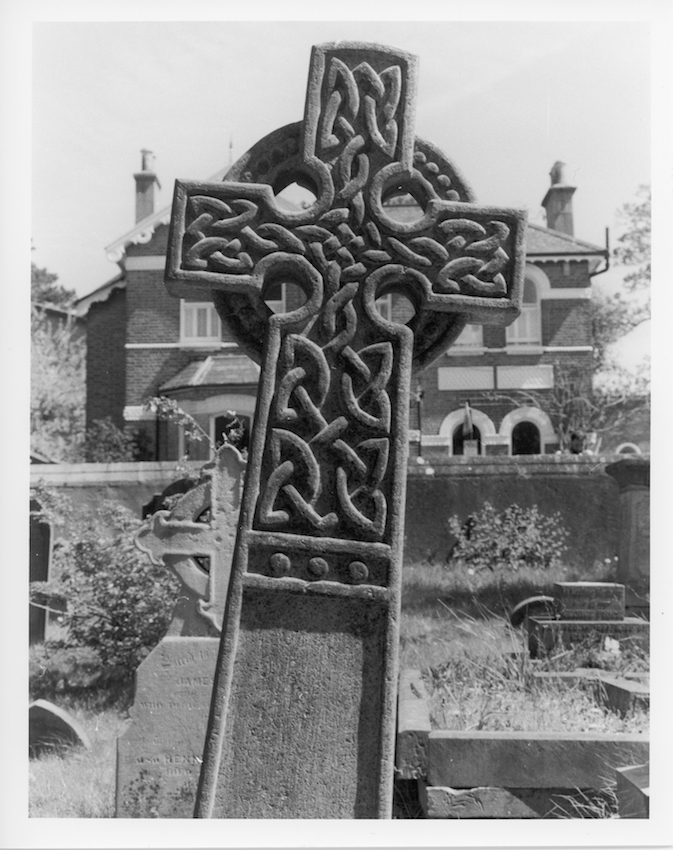
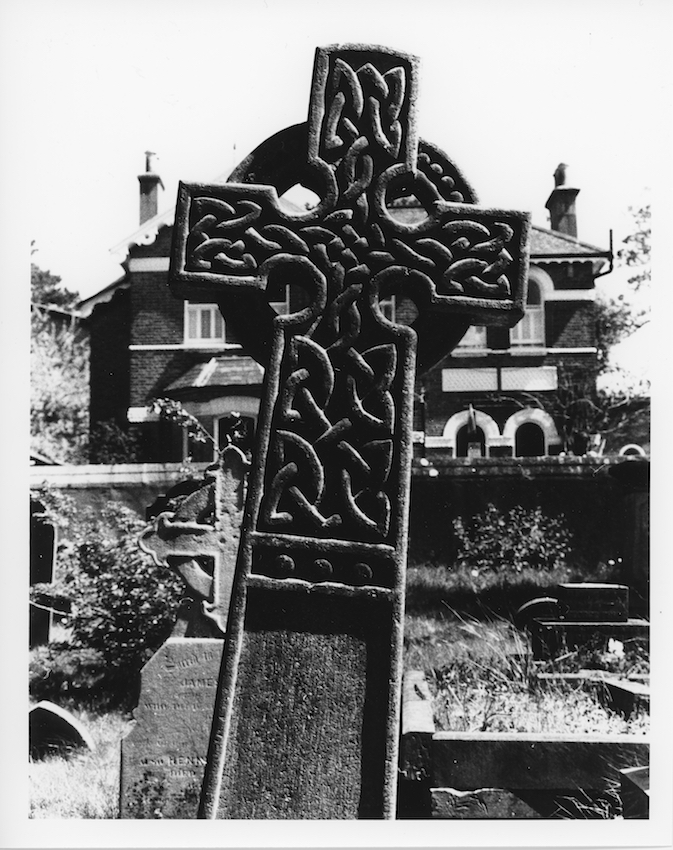
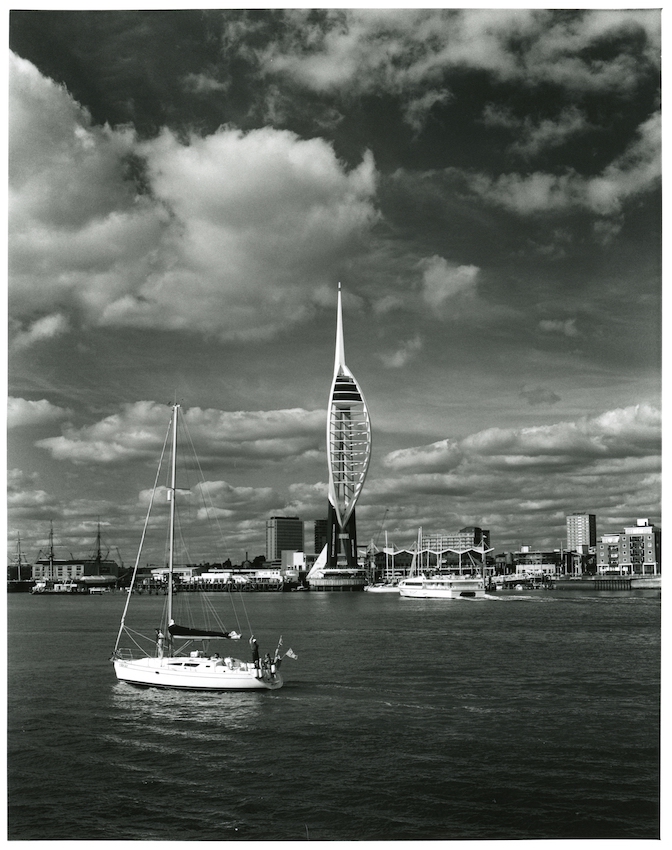
My recent prints that I tried to print so that they had a similiar look were made with 40y no magenta, 40y 30m and 40y 50m (for slightly more contrast than 40y 30m). There was obviously some differences in my neg density/contrast but nothing huge so these setting were used over a set of ten prints or so.
So I’ve recently swapped to a colour head and am wondering about different filtration and contrasts etc.
E.g. I’ve read some people only use yellow or magenta, not both.
Also, is there a difference in using a lot of filtration (e.g. 75M 60Y) vs. say 30M 10Y, or is there a cancellation/negation of the filtration so that you end up with the same contrast?
In this case, is contrast the be all and end all that decides your grey tone depth? Or will heavy yellow stretch out by greys whilst magenta tries to hold the Dmax/min?
My recent prints that I tried to print so that they had a similiar look were made with 40y no magenta, 40y 30m and 40y 50m (for slightly more contrast than 40y 30m). There was obviously some differences in my neg density/contrast but nothing huge so these setting were used over a set of ten prints or so.