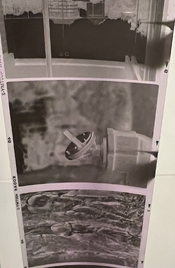
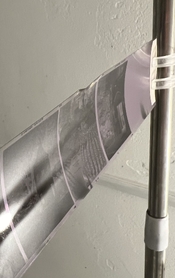
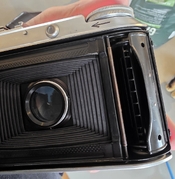
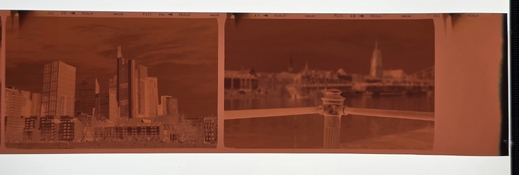
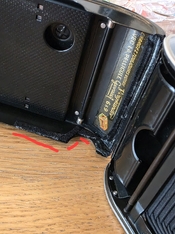
Hi I found light leaks exactly like yours in my BessaRF. The pictures were taken using a 6x4.5 mask, and tape side is where the roll starts. Given Bessa RF and II are about the same design, could you help me figure out where the leak is?
From the threads I got an idea it might be a crack, but I couldn't find any damage on the body. However, I did open the top plate to adjust the rangefinder. I'm not sure if it's the top plate or parts inside not properly secured.
Many thanks!
From the threads I got an idea it might be a crack, but I couldn't find any damage on the body. However, I did open the top plate to adjust the rangefinder. I'm not sure if it's the top plate or parts inside not properly secured.
Many thanks!